4.8 KiB
+++ tags = ["documentation"] title = "Installation" weight = 15 +++
The following steps are here to help you initialize your new website. If you don't know Hugo at all, we strongly suggest you learn more about it by following this great documentation for beginners.
{{% notice tip %}} The following tutorial leads you thru the steps of creating a first, minimal new site.
You don't need to edit any files besides your hugo.toml and only need to execute the commands in the given order.
{{% /notice %}}
Create your project
Hugo provides a new command to create a new website:
hugo new site my-new-site
After that change into the directory:
cd my-new-site
Every upcoming command will be executed from inside your new site's root.
Install the theme
From Download
You can download the theme as .zip file and extract it into them themes/hugo-theme-relearn directory.
With Hugo's Module System
Install the Relearn theme by following this documentation using Hugo's module system.
This theme's repository is: https://github.com/McShelby/hugo-theme-relearn.git
Using Git or Git Submodules
If you install the theme from your git repository or GitHub, you have several options.
If you use the head of the main branch, you are using the development version. Usually it is fully functional but can break from time to time. We try to fix newly introduced bugs in this version as soon as possible.
Additionally you can checkout one of the tagged versions. These tagged versions correspond to an official releases from the GitHub repository.
Besides the usual version tags (eg 1.2.3) there are also tags for the main version (eg. 1.2.x), major version (eg. 1.x) and the latest (just x) released version making it easier for you to pin the theme to a certain version.
Basic Configuration
When building the website, you can set a theme by using --theme option. However, we suggest you modify the configuration file hugo.toml and set the theme as the default.
{{< multiconfig file=hugo >}} theme = "hugo-theme-relearn" {{< /multiconfig >}}
Create your Home Page
If you don't create a home page, yet, the theme will generate a placeholder text with instructions how to proceed.
Start your journey by filling the home page with content
hugo new --kind home _index.md
By opening the given file, you should see the property archetype=home on top, meaning this page is a home page. The Relearn theme provides some archetypes to create those skeleton files for your website.
Obviously you better should change the page's content.
Create your First Chapter Page
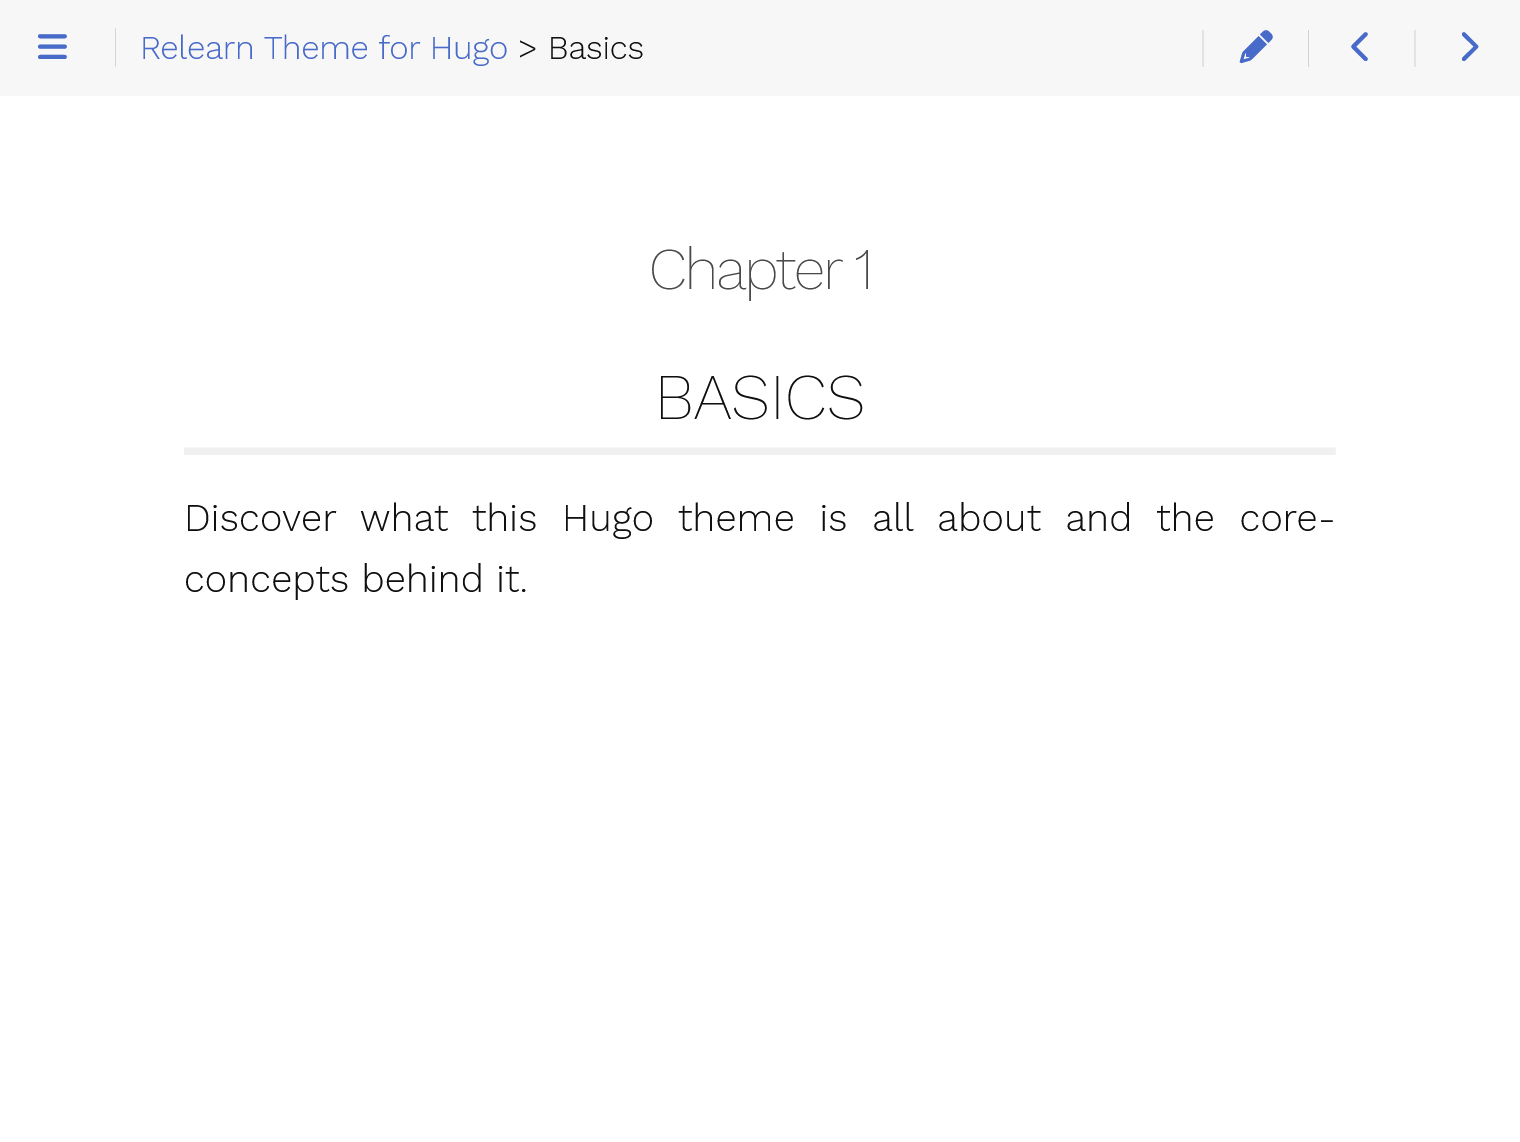
Chapters are pages that contain other child pages. It has a special layout style and usually just contains the title and a brief abstract of the section.
# Basics

Discover what this Hugo theme is all about and the core concepts behind it.
renders as
Begin by creating your first chapter page with the following command:
hugo new --kind chapter basics/_index.md
By opening the given file, you should see the property archetype=chapter on top, meaning this page is a chapter.
The weight number will be used to generate the subtitle of the chapter page, set the number to a consecutive value starting at 1 for each new chapter level.
Create your First Content Pages
Then, create content pages inside the previously created chapter. Here are two ways to create content in the chapter:
hugo new basics/first-content.md
hugo new basics/second-content/_index.md
Feel free to edit those files by adding some sample content and replacing the title value in the beginning of the files.
Launching the Website Locally
Launch by using the following command:
hugo serve
Go to http://localhost:1313
You should notice three things:
- The home page contains some basic text.
- You have a left-side Basics menu, containing two submenus with names equal to the
titleproperties in the previously created files. - When you run
hugo serveyour page refreshes automatically when you change a content page. Neat!
Build the Website
When your site is ready to deploy, run the following command:
hugo
A public folder will be generated, containing all content and assets for your website. It can now be deployed on any web server.
Now it's time to deploy your page by simply uploading your project to some webserver or by using one of Hugo's many deployment options.
